Chocolate Swiss Meringue Buttercream (Rich, Silky, and Very Deeply Chocolatey)
Apr 09, 2026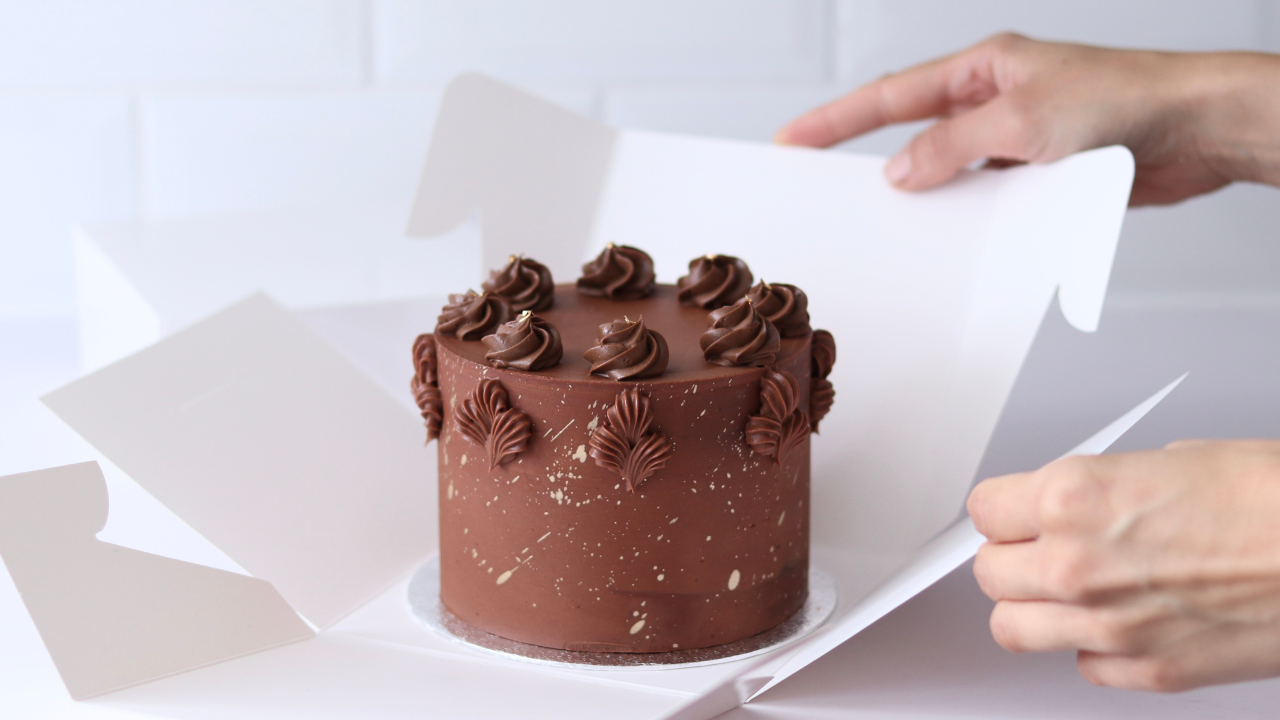
If you've been following along, you'll know I've been sharing my favourite cake fillings on YouTube - and this week's episode might be my favourite yet. We're making Chocolate Swiss Meringue Buttercream.
This is my go-to chocolate frosting. I barely use dark chocolate ganache. All my chocolate covered cakes: that’s what I’m using. It’s rich, fudgy, and super chocolatey - with one little secret ingredient that takes it somewhere else entirely. (More on that in a second.)
What you'll need
Makes enough to fill and crumb coat a 6" cake with 4 layers of sponge
- 300g Swiss Meringue Buttercream - light brown sugar or classic, whichever you prefer (here’s the link to my recipe)
- 150g dark chocolate, melted and cooled (60-70% cocoa solids recommended)
- 15g dark cocoa powder
- 1 vanilla bean or 1 tsp vanilla bean paste
- 1–2 tsp coffee flavour, to taste
About that coffee flavour
I know, I know. You might see “add coffee to your chocolate sponge” everywhere. And there’s a reason for that - which is the same reason I use it on ALL my chocolate based products (ganache, buttercream, you name it…)
A touch of coffee flavour enhances the chocolate without your buttercream tasting of coffee at all. If you've never tried it, it'll genuinely surprise you - in the best possible way. I use my own homemade coffee extract (you’ll find the recipe in the video description), you can watch it here, but a good quality shop-bought version works too.
How to make it
Start with your base SMBC already whipped and back to a smooth, spreadable consistency - this is important, especially if it's been sitting in the fridge.
Add the cocoa powder, vanilla, and coffee flavour directly to the bowl and mix through. Scrape down the sides really thoroughly and mix one more time until fully combined.
Now for the chocolate. This is where people sometimes run into trouble, so here's what to do:
If you have a machine with an induction heating function (like my Kenwood Cooking Chef XL), set it to around 25°C before drizzling the melted chocolate in. This keeps everything at just the right temperature so the chocolate doesn't seize or harden on contact with the cold buttercream. It makes the whole process so much smoother.
If you don't have that feature, no problem, just use this method instead: take about a quarter of your buttercream and stir it directly into the bowl of melted chocolate. Once that's combined, add another quarter and stir again. Then add that whole chocolate mixture back into your main buttercream bowl and mix until smooth. It's a few extra steps, but it does the same job.
Give everything a final mix until you have a glossy, deeply chocolate buttercream. Taste it. Try not to eat it straight from the bowl (I can't promise anything).
Watch the full video
The full tutorial is now live on YouTube - including a look at how I use the induction function on the Kenwood Cooking Chef XL to make the chocolate addition even easier. If you're in the market for a new stand mixer, I'm a Kenwood ambassador and you can use my link to get 2 extra accessories with your machine (in addition to the ones already included. My advice is - get the pasta maker to help with sugar work if you make a lot of sugar flowers, ruffles, etc).
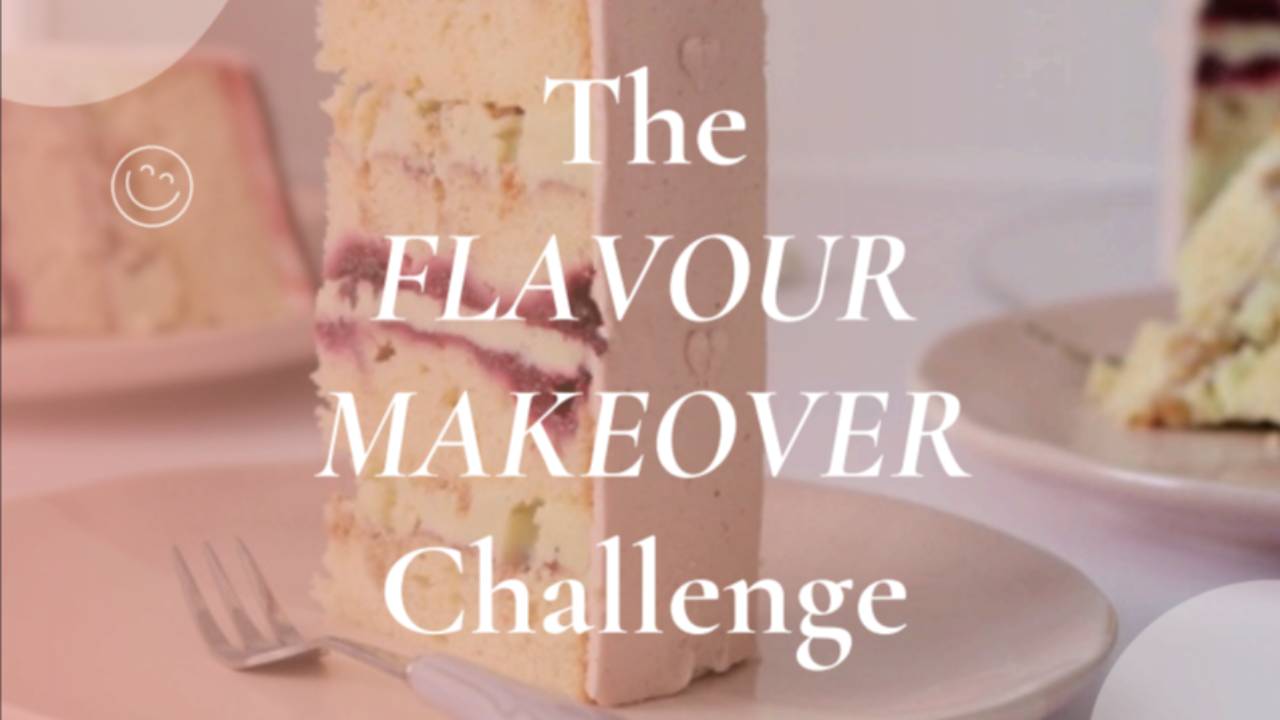
Want to go further with your flavour work? The Flavour Makeover Challenge is a free resource from Modern Cake Society designed to help you build more interesting, intentional flavour profiles - grab it here.